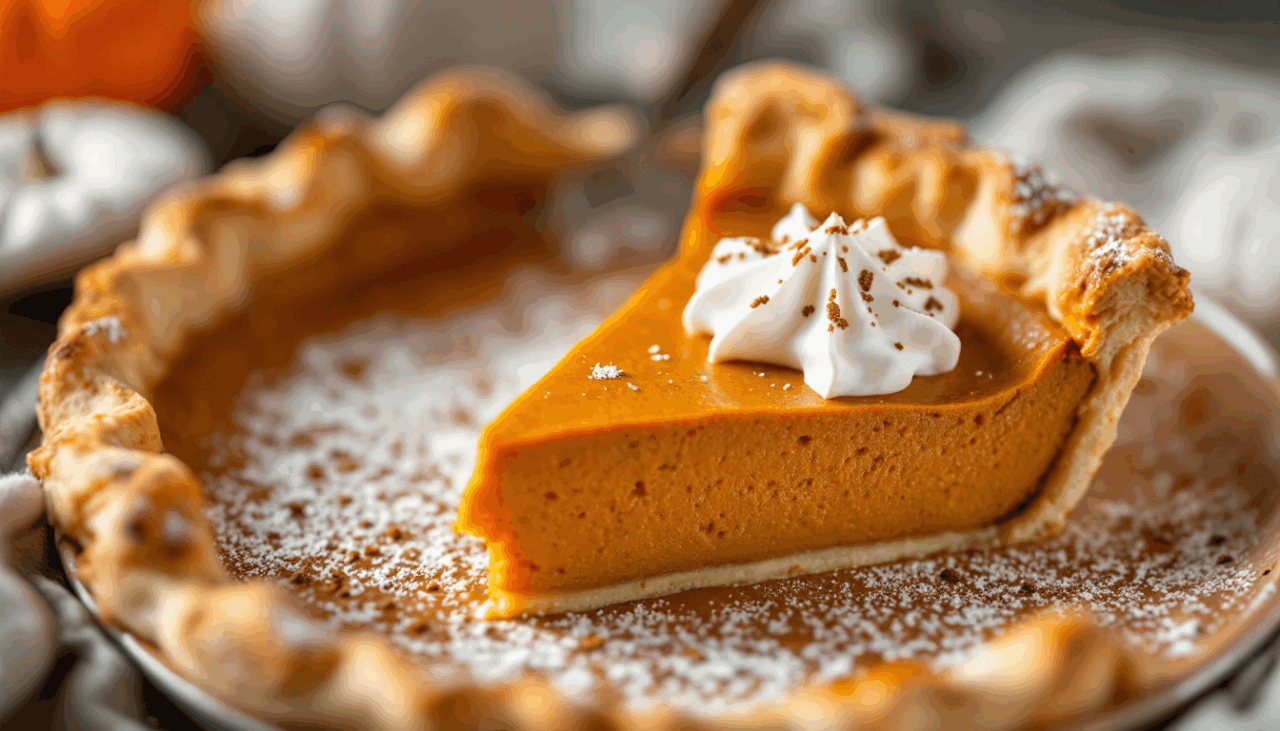
Perfect Pumpkin Pie Recipe – Fresh & Homemade
The Pumpkin Pie Recipe That Finally Made Me Understand Fall – I used to be that person who rolled her eyes at pumpkin spice everything. You know the type — the one who made snarky comments about basic fall behavior while secretly wondering what all the fuss was about.
Pumpkin Pie
Ingredients
- 750g pumpkin
- 350g shortcrust pastry
- Plain flour for dusting
- 140g caster sugar
- u00bd tsp salt
- u00bd tsp nutmeg
- 1 tsp cinnamon
- 2 beaten eggs
- 25g butter, melted
- 175g milk
- 1 tbsp icing sugar
Instructions
- Place the pumpkin in a large saucepan, cover with water and bring to the boil. Cover with a lid and simmer for 15 mins or until tender. Drain pumpkin; let cool.
- Heat oven to 180C/160C fan/gas 4. Roll out the pastry on a lightly floured surface and use it to line a 22cm loose-bottomed tart tin. Chill for 15 mins. Line the pastry with baking parchment and baking beans, then bake for 15 mins. Remove the beans and paper, and cook for a further 10 mins until the base is pale golden and biscuity. Remove from the oven and allow to cool slightly.
- Increase oven to 220C/200C fan/gas 7. Push the cooled pumpkin through a sieve into a large bowl. In a separate bowl, combine the sugar, salt, nutmeg and half the cinnamon. Mix in the beaten eggs, melted butter and milk, then add to the pumpkin puru00e9e and stir to combine. Pour into the tart shell and cook for 10 mins, then reduce the temperature to 180C/160C fan/gas 4. Continue to bake for 35-40 mins until the filling has just set.
- Leave to cool, then remove the pie from the tin. Mix the remaining cinnamon with the icing sugar and dust over the pie. Serve chilled.
Nutrition
But last October, after yet another failed attempt at making something — anything — that captured the magic everyone else seemed to find in autumn, I found myself staring at a massive sugar pumpkin that had been taunting me from my counter for two weeks.
My mother-in-law had given it to me with that knowing smile that said, “You’re finally going to learn, aren’t you?” And honestly?
I was tired of feeling left out of the pumpkin party.
So there I was, at 9 PM on a Tuesday, Googling “how to cook a whole pumpkin” like some sort of culinary amateur (which, let’s be honest, I absolutely was). What followed was a three-hour journey that involved far more swearing than any decent pumpkin deserved, a slightly singed oven mitt, and the most revelatory pumpkin pie recipe I’ve ever encountered.
The thing is, once I tasted that first bite — creamy, spiced just right, with a custard that actually set properly — I finally got it. This wasn’t about jumping on some trendy bandwagon.
This was about understanding why entire generations of people have built their fall traditions around this one perfect dessert.
Why This Pumpkin Pie Recipe Changes Everything
Here’s what nobody tells you about pumpkin pie: most of the versions you’ve eaten probably weren’t very good. I know that sounds harsh, but hear me out.
The majority of pumpkin pie recipes rely on canned pumpkin (which, fine, has its place), shortcuts that prioritize convenience over flavor, and spice combinations that taste like someone dumped a candle store into your dessert. This pumpkin pie recipe takes a different approach — one that respects both the pumpkin and your time.
The secret lies in using fresh pumpkin that you cook yourself. Yes, it’s an extra step, but it’s not nearly as intimidating as it sounds.
When you cook fresh pumpkin, you control the moisture content, the texture, and most importantly, the flavor. Fresh pumpkin has a sweetness and earthiness that canned versions simply can’t match.
Plus, there’s something deeply satisfying about transforming a whole pumpkin into pie filling — it makes you feel connected to the process in a way that opening a can never will.
This particular method, which I’ve adapted and perfected over countless attempts, creates a filling that’s silky without being too loose, spiced without being overwhelming, and rich without being heavy.
- The Best Sticky Toffee Pudding Recipe That’ll Make You Lick The Plate
- Salted Caramel Cheescake Recipe
- Easy Banana Pancakes Recipe – Simple & Delicious
- Classic British Bakewell Tart Recipe | Almond & Raspberry
- The Ultimate Chocolate Gateau Recipe: Simpler Than You Think
- A Simple Apple Frangipan Tart Recipe That Tastes Like All-Day Baking
The technique of pushing the cooked pumpkin through a sieve might seem fussy, but it’s what gives you that perfectly smooth texture that makes people ask for your recipe.
The Complete Pumpkin Pie Recipe Guide
Every great pumpkin pie recipe starts with understanding your ingredients and respecting the process. This isn’t a dessert you can rush, but it’s also not as complicated as some people make it seem.
The key is giving each step the attention it deserves and not trying to skip ahead.
Ingredients You’ll Need
The Only Pumpkin Pie Recipe You’ll Ever Need:
For the filling:
- 750g fresh pumpkin (about 1.5 pounds)
- 140g caster sugar (about 2/3 cup)
- 1/2 teaspoon salt
- 1/2 teaspoon nutmeg
- 1 teaspoon cinnamon (divided)
- 2 large eggs, beaten
- 25g butter, melted (about 2 tablespoons)
- 175g milk (about 3/4 cup)
For the crust and finishing:
- 350g shortcrust pastry (store-bought is absolutely fine)
- Plain flour for dusting
- 1 tablespoon icing sugar
Preparing Your Fresh Pumpkin
Start by choosing the right pumpkin — you want a sugar pumpkin or pie pumpkin, not the massive carving kind. Cut your pumpkin into manageable chunks (I usually aim for pieces about the size of my palm), remove the seeds and stringy bits, but don’t worry about peeling it yet.
Place the chunks in a large saucepan and cover completely with water.
Bring the water to a rolling boil, then cover and reduce to a gentle simmer. Here’s where patience becomes your friend — let that pumpkin cook for about 15 minutes, or until you can easily pierce it with a fork.
The pumpkin should feel tender but not mushy. Drain thoroughly and let it cool until you can handle it comfortably.
Once cooled, scoop the flesh away from the skin (it should come away easily if properly cooked) and push it through a fine-mesh sieve into a large bowl. This step is non-negotiable if you want that restaurant-quality smooth texture.
Yes, it takes a few minutes of pressing and scraping, but the result is worth every second.
Crafting the Perfect Pastry Base
While your pumpkin cools, preheat your oven to 180°C (160°C fan/gas 4). Roll out your pastry on a lightly floured surface — and please, don’t skip the flour dusting, because nothing ruins your day quite like pastry that sticks to everything.
You want it large enough to line a 22cm loose-bottomed tart tin with some overhang.
Press the pastry gently into the tin, making sure you get into all the corners without stretching it. Trim the excess, leaving about 1cm overhang, then chill for 15 minutes.
This chilling step prevents shrinkage — trust me on this one.
Line the chilled pastry with baking parchment and fill with baking beans (or dried beans, or even rice — anything with weight). Bake for 15 minutes, then carefully remove the beans and parchment.
Return to the oven for another 10 minutes until the base looks pale golden and feels set when you touch it lightly.
Creating the Silky Filling
Increase your oven temperature to 220°C (200°C fan/gas 7). In a separate bowl, whisk together the sugar, salt, nutmeg, and half the cinnamon.
This might seem like a small detail, but mixing your dry ingredients first ensures even distribution throughout the filling.
Add the beaten eggs to the spice mixture, whisking constantly to prevent any scrambling. Slowly drizzle in the melted butter, still whisking, then the milk.
The key here is gradual incorporation — you want everything to come together smoothly without any lumps or separated bits.
Pour this mixture into your sieved pumpkin purée and stir until completely combined. The mixture should be smooth and pourable, with a consistency somewhere between heavy cream and yogurt.
The Baking Process That Makes All the Difference
Pour the filling into your prepared tart shell — it should come nearly to the top but not overflow. Slide it into your hot oven and immediately reduce the temperature to 180°C (160°C fan/gas 4).
This initial blast of high heat helps set the edges quickly, preventing overflow while ensuring a proper rise.
Bake for 35-40 minutes total. You’ll know it’s done when the center is just set — it should have a slight wobble when you gently shake the tin, but not be liquid.
The surface might crack slightly, and that’s perfectly normal.
Essential Tips for Pumpkin Pie Success
After making this pumpkin pie recipe more times than I care to admit, I’ve learned that success lies in the details. Here are the tricks that separate good pies from great ones.
Temperature Control is Everything
Don’t skip the temperature changes during baking. That initial high heat followed by the reduction creates the perfect texture — custardy but firm, creamy but not loose.
If you bake at a constant moderate temperature, you’ll end up with a filling that never quite sets properly.
The Sieve Step Cannot Be Skipped
I know it seems fussy, but pushing the cooked pumpkin through a sieve is what transforms this from “homemade pumpkin pie” to “restaurant-quality pumpkin pie.” Even the smoothest-looking cooked pumpkin has fibrous bits that will show up in your final product. Five minutes of pressing through a sieve saves you from a grainy filling.
Testing for Doneness
The filling is done when it’s set around the edges but still has a slight wobble in the center — about the size of a quarter. It will continue cooking from residual heat as it cools.
If you wait until the center is completely firm, you’ll end up with an overcooked, rubbery texture.
Cooling and Serving Strategy
Let the pie cool completely before removing it from the tin. I know it’s tempting to dig in while it’s warm, but the filling needs time to set properly.
Once cooled, mix the remaining cinnamon with the icing sugar and dust over the top just before serving.
Creative Variations to Make This Recipe Your Own
Once you’ve mastered the basic pumpkin pie recipe, there are several directions you can take it. These variations keep the fundamental technique the same while adding your own personal touch.
Bourbon Maple Version
Replace 2 tablespoons of the milk with bourbon and add 2 tablespoons of maple syrup to the sugar mixture. The bourbon adds warmth and complexity without being overwhelming, while the maple syrup enhances the pumpkin’s natural sweetness.
Ginger Spice Variation
Add 1/2 teaspoon ground ginger and a pinch of ground cloves to your spice mixture. Reduce the cinnamon to 1/2 teaspoon to balance the flavors.
This creates a more complex spice profile that’s warming without being too intense.
Brown Butter Enhancement
Instead of just melting the butter, cook it in a small pan until it turns golden brown and smells nutty. Let it cool slightly before adding to the mixture.
Brown butter adds an incredible depth of flavor that elevates the entire pie.
Coconut Milk Substitute
Replace the regular milk with full-fat coconut milk for a richer, slightly tropical flavor. This variation is also naturally dairy-free if you use a dairy-free pastry.
What to Expect: Realistic Results and Final Thoughts
Let’s be honest about what you’re getting into with this pumpkin pie recipe. This isn’t a quick weeknight dessert — between cooking the pumpkin, preparing the pastry, and baking time, you’re looking at about 3 hours from start to finish.
But here’s the thing: most of that time is hands-off. You’re not actively working for three hours straight; you’re mostly waiting for things to cook or cool.
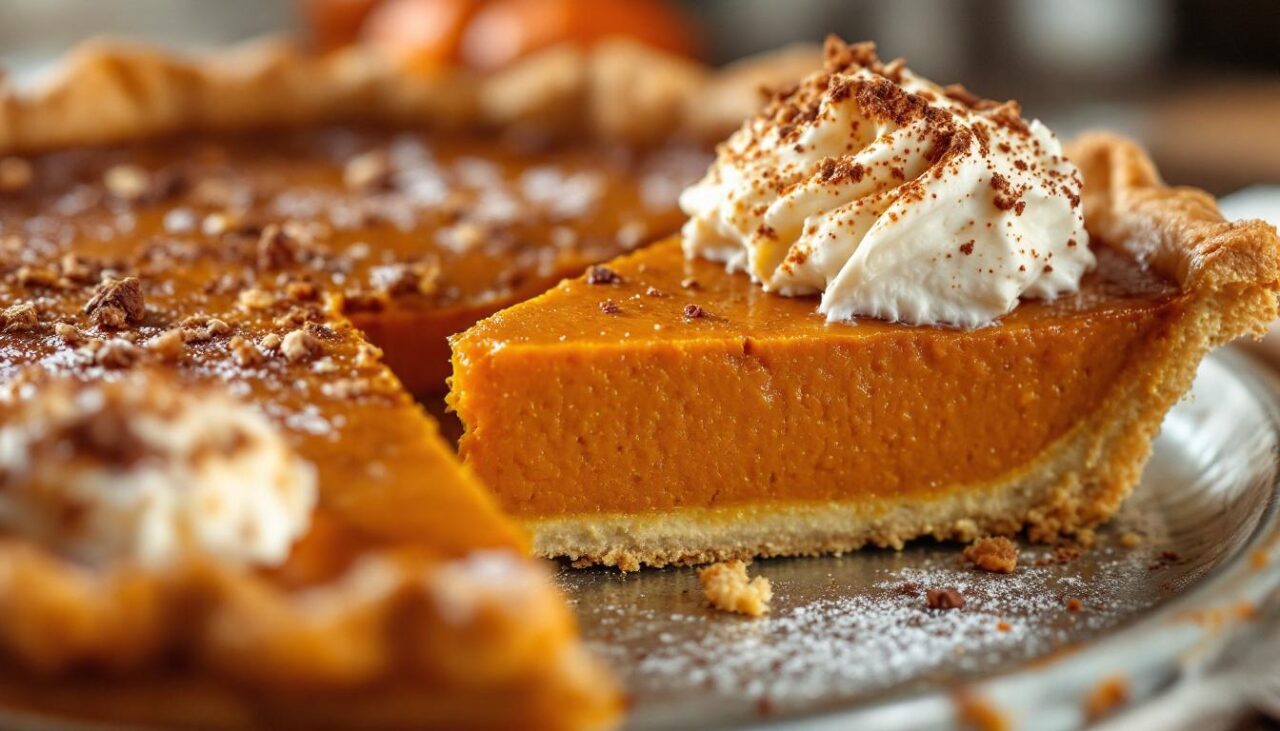
The result is a pumpkin pie that tastes like autumn should taste — warm, comforting, and complex without being fussy. The texture will be silky and smooth, the spicing balanced and warming, and the overall effect is something that makes people pause mid-bite and ask what you did differently.
It’s the kind of pie that converts pumpkin skeptics and makes pumpkin lovers weep with joy.
Don’t expect perfection on your first try. My first attempt had a slightly soggy bottom (insufficient blind baking), and my second one cracked dramatically across the top (oven too hot).
But even those imperfect pies tasted incredible, and each attempt taught me something new about the process.
The best part about mastering this pumpkin pie recipe is that it becomes your go-to for every fall gathering. It’s impressive enough for Thanksgiving dinner but approachable enough for a casual dinner party.
Plus, once you’ve made it a few times, the process becomes almost meditative — there’s something deeply satisfying about transforming simple ingredients into something that brings people together.
So go ahead, embrace the pumpkin. Your kitchen will smell amazing, your friends will be impressed, and you’ll finally understand what all the fuss is about.